Replace an Ink Pad on an Epson, you will do that You will get an error that says “The printer’s ink pads have reached the end of their life,” but it probably means that your ink pads are clogged and are long overdue for replacement. Is required. While printing, the printer creates waste ink that must go somewhere. It travels through a tube and into the ink pad, where it’s collected. The error message shown above is invoked after a code in the printer counts a predetermined number of prints. The Epson manual states that I will have to take the printer in for repairs and likely even replace the entire printer. That being said, you can decide to take care of the issue yourself if you want to save a little cash.
Read: How to Fix Epson Printer not Printing After Changing Ink Cartridge?
How to Change the Ink Pad on an Epson
Step- 1 Firstly, Cover it. A table with plastic or newspaper and put your unplugged printer on top of it.
Step-2 Take off the viewing panel. It’s a panel on the back right side of your printer, secured by a screw or two. On some printers, it will be a rectangle-shaped panel; on others, the entire right side of the printer will come off. Find the screws and take them out with a Phillips screwdriver. Gently pry off the panel using a flathead screwdriver.
Step-3 Find waste ink tubes. Identify those easily and they would be two clear tubes bundled together in the waste ink tank. Others will have only a single tube. The loose end will be outside the printer and the secure one with the tubes inside the printer. The free ends of the tubes should be pulled through the opening in the panel and hung down. If you can’t grip the tubes easily with your fingers, use needle-nose pliers to do this.
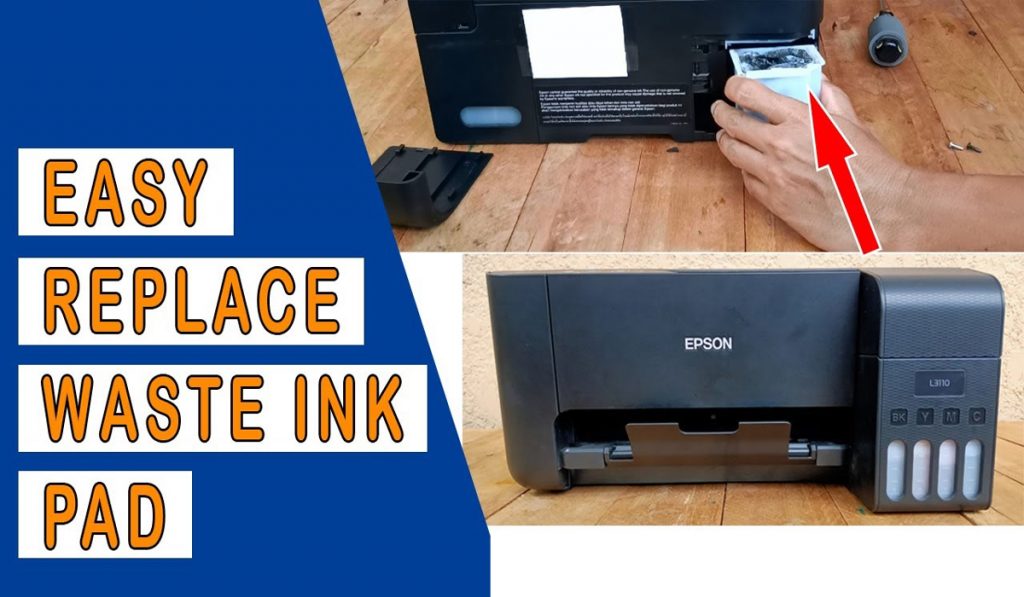
Step-4 Remove the old pad. This is a tricky operation, so ensure that the vicinity of the printer is filled with stuff that you don’t mind getting ink on. You can wear rubber gloves. Using tweezers, pull out the pad from the printer and place it aside. Wipe the reservoir with paper towels pushed inside, allowing them to absorb the ink.
Step-5 Change pad. Buy a clean pad from a computer parts store, but these can be a rarity and very costly. You can also trim a new dish sponge to fit and slide it in as a replacement. Another option is to clean an old tampon by soaking it in a bowl of warm water and then squeezing it out. Do not return it to the printer until it is fully dry. Return the free ends of the tubes to the tank as they were. However, the majority of people build an external ink waste tank. This requires the expansion of the tubes. This can be accomplished by buying airline connectors and plastic piping to match. These things can be found very cheaply at any store that sells aquarium products. If your printer has a pair of tires, cut a pair of one-foot-long tubes.
If there is only a single tube, go ahead and trim off a piece of the tube. Place the connectors in the end of the tubes going into the printer and insert them into the tubes you recently cut. After that, you make a hole in the cap of the bottle and insert the ends of the tubes in it. Any kind of small plastic water bottle is fine. Now the old ink is going to flow into the bottle and you can empty it at any time. You might find it helpful to affix the bottle to the side of the printer with Velcro or tape so that it doesn’t tip over.
Step-6 Reset the counter, clearing the error message. In order to do this you must download the software. It is available for free download at ssclg. com. The link is in the resources. Run the program on the PC attached to the printer. This will give you a reset for the counter and remove the error. Before trying anything, it’s best to read the instructions in the program’s help file. Once the program is downloaded, it will show up on your desktop status bar and you can right-click to see a list of options. The “Reset Counter” is the second option. Tap it to reset your counter and thereby erase the error message.?
Conclusion
Conclusion on How to Replace an Ink Pad on an Epson Replacing the ink pads is a quite straightforward process. Even after following all the steps you are still unable to do it. You can be comment in the box what are you facing issue. And we will deliver the perfect answer.