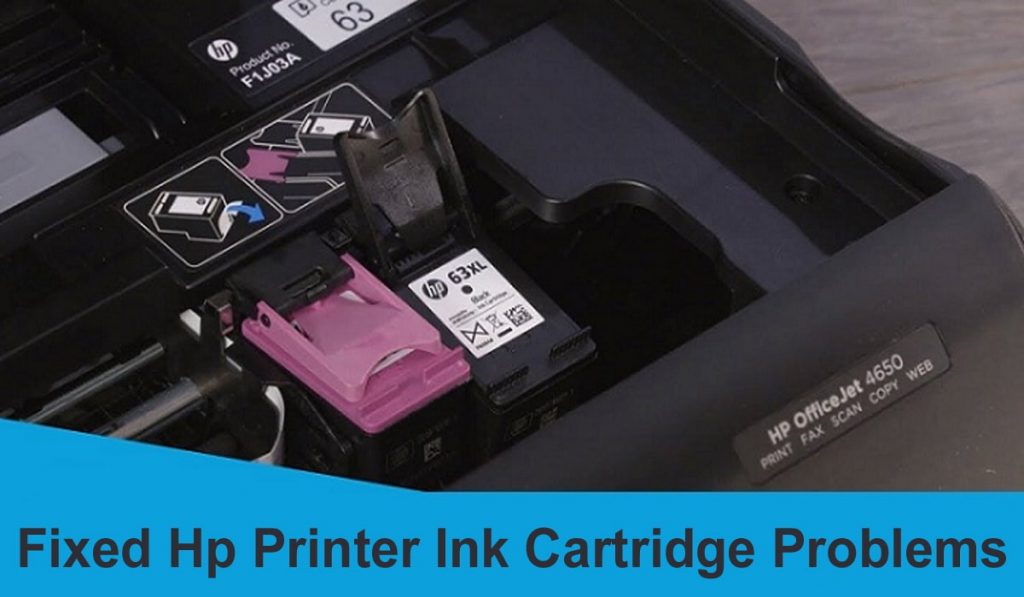
Are you wondering about HP Printer Ink Cartridge problems Troubleshooting? Well, you have landed at the right place. Commonly seen in HP Photosmart all-in-one printers such as B009, B110, and B010. You will see an error message for the ink cartridge on the Printer Control Panel which will also not allow it to print.
Read: How to Use HP Instant Ink After Cancelling Full Principle
You need to ensure that only Original HP ink or laser print cartridges go into the printer. This is extremely crucial and if you are using non-compatible cartridges be sure to get a new replacement cartridge which will solve the issue in the majority of cases.
Also, you need to install the cartridge correctly. Here are a few things to note in this regard.
- Power on and open the cartridge access door on your printer. Instead, the cart must simply be moved to the right side of the device. Wait, if the vehicle is quiet and idling.
- Check that the symbol on the cartridge label matches the symbol on the cartridge slot. If they are, push them down gently, but ensure they are not in place. The latch for the printhead should be in the right position for down.
- Shut the point of access as needed.
Simple Solutions for HP Printer Ink Cartridge Issues
Alternatively, if it is made up of separate components, try uninstalling/reinstalling the printer cartridge. It has the following steps:
- Open the cartridge access door and wait until the vehicle has fallen silent and is idling.
- To eject it press down on the front of the cartridge tab and pull it up and out of its slot.
- If an individual cartridge is already highlighted with an error message, make sure that you find it.
- If no specific cartridge is mentioned, then all cartridges are removed in one go.
- Reinsert the cartridge again with the cartridge contacts facing front, seated in the print carriage. Ensure that they are where they should be and that they are secure.
With the cartridge out, you can also clean the electrical contacts with a lint-free cloth or dry cotton swab, and ensure the proper placement of the cartridge with the nozzle in place. First, the electrical contacts will be on the bottom. You will first have to clean them. Then, clean the electrical contacts in the inside of the printer carriage slot, which is a set of four copper-colored pins. Clean the electrical contact with a dry cotton swab and push the cartridge into the correct slot.
Always remember to remove and reinstall the cartridge. Alternatively, when the printer is on, unplug the power cord from the rear of the printer, and restore the power cord from a wall outlet. Wait 15-20 seconds for the strings to reconnect and the printer to be on. You will also need to change the cartridge, or replace the printhead. As a final resort, you can schedule an appointment to get your HP printer repaired.
Conclusion
Here we have the tutorial to resolve HP Printer Ink Cartridge Problems. We provided all the required steps not resolve your issue please connect with the HP care number they will assist you in no time. If the post is good for you, then you can give your feedback in the comment section.