This can be very disruptive because it may delay all your critical print tasks. After refilling the cartridge, the only solution for this issue is to reset the printer. In this article, we have discussed how to Reset an HP Printer After Refilling Ink.
Read: How to Fix HP Printer Filter Failed Error (Resolved)
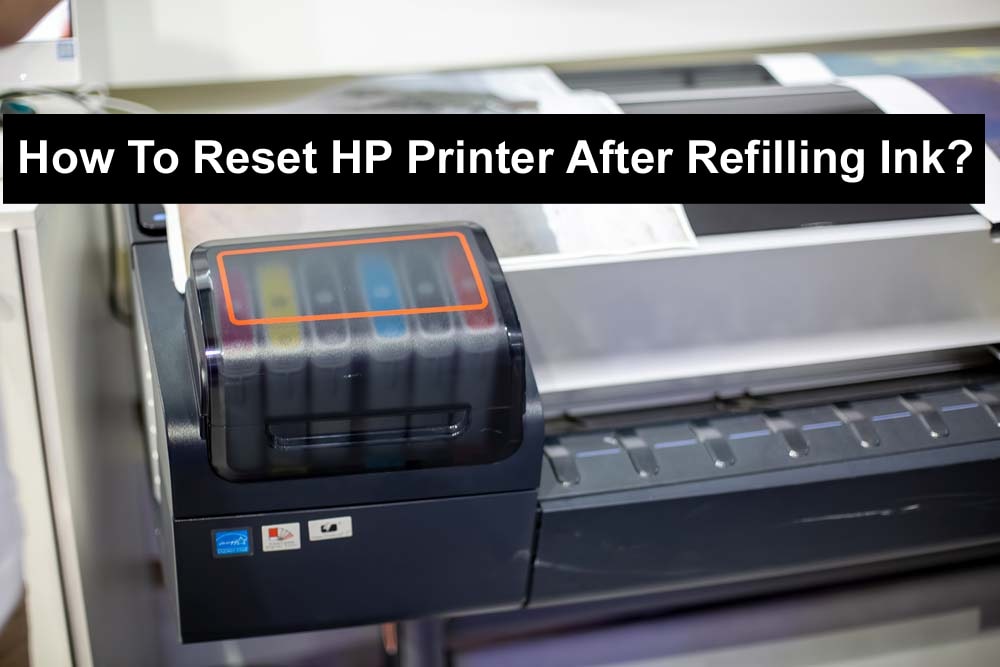
How To Reset Your HP Printer After Refilling Ink
Once the cartridges run dry, they need to be recharged. However, this is not true for some printers which continue working flawlessly even after recharging. Another reason some printer models need to be hard reset.
This issue happens when the printer does not recognize the newly installed cartridge. Even during the installation of an authentic HP Cartridge, the Third Party Cartridge Detected Message” when installing a genuine HP cartridge.
The simplest solution to this problem when this happens would be to perform a printer reset. This method will equally work if you use third-party cartridges instead of original genuine HP cartridges.
Tape Method
This reset method is helpful when cartridge contacts are reading ink levels. This article consists of the steps to reset an HP printer using the tape method.
- Step 1: Make the cartridge contacts visible. Now take a look at the back and see if the contacts are on the bottom.
- Step 2: Tape the contacts of your cartridge in the upper left corner.
- Step 3: Then, Insert the cartridge back into your HP printer and print the alignment page. Then the printer will have a message saying, “There is a problem with the cartridge.
- Step 4: After Aligning, Take out the Cartridge Leaving the Tape Unremoved.
- Step 5: Next, tape the contacts on the upper right of the cartridge.
- Step 6: Insert the Cartridge, and Print the Alignment Page Ignore any error messages you might see in the process.
- Step 7: Next, take out the ink cartridge.
- Step 8: You are also an expert in taking nightlights, which are devices that help us sleep at least.
- Step 9: Now replace the cartridge in the printer and reprint the alignment page.
- Step 10: Uninstall Cartridge After Align Page Printed
- Step 11: Install Cartridge in HP Printer.
- Step 12: Now insert the cartridge again.
Swap Method
The other method of resetting HP printer after it is full of ink is the swap method. Here are the steps you need to follow for the redemption method.
- Step 1: Install the refilled ink cartridge in the printer.
- Step 2: You’re now going to print the alignment page. If you do get an error message, ignore it; that won’t matter for the reset.
- Step 3: Next, Remove the ink cartridge from your printer.
- Step 4: Insert one of the Old Cartridges and Attempt to print an Alignment Page Through It Then, your printer will notice a new cartridge.
- Step 5: This will cause the printer to continue working normally until it runs out of left-over ink. Now take out this cartridge insert a cartridge from the old stack insert, and try printing an alignment page. The memory of the old cartridge will be erased by the printer and the newly installed cartridge will be recognized.
- Step 6: The newly filled ink cartridge is ready for insertion in the printer to print the alignment. This will allow your printer to detect the ink cartridge.
- Step 7: An HP printer is all you need for your daily home and office printing requirements. These are quite capable machines when it comes to print quality. HP has been producing the most remarkable print products available for over 50 years.
This brand keeps wowing audiences with its advanced features, including fast wireless connectivity, rapid print speeds, and high-res printing. However, HP devices struggle with the problems users face. Among those issues is the printer not recognizing the ink cartridge that has been reinstalled.