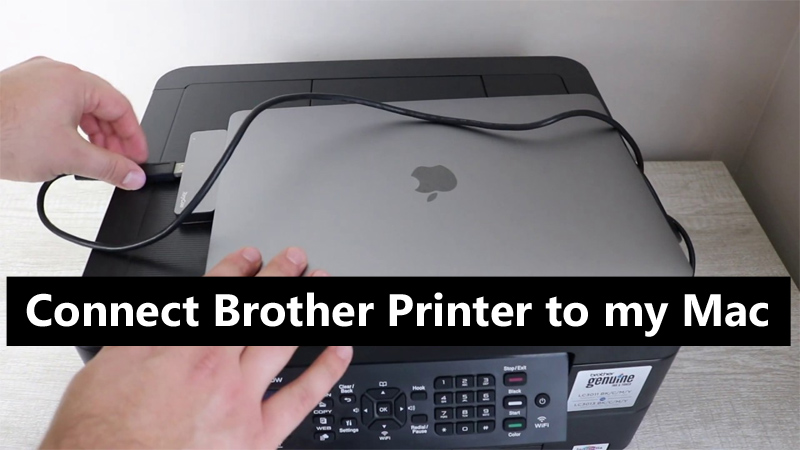
Looking for instructions on how to connect Brother Printer to Mac? Printers are something that many people are worried to include in their devices. Once familiar with adding a collective device, connecting a printer is easy. But you can at least connect a printer to any device in a wired or wireless connection. Below you can see the steps to connect the Brother printer to the Mac device.
Read: How to Fix Brother Printer Ink Absorber Full Error
What is the process for connecting a Brother printer to a Mac?
Whoever customers of Brother printer may induce a problem in pairing the printer with Mac, whether the customer is new or existing one. However, linking your Brother printer to your Mac device is not difficult and can be done if you know how. If you are unaware of how to connect Brother printer to Mac, walk through the below steps.
How do I add a Brother printer on a Mac?
- So, first of all, we will power off the Brother printer and disconnect the printer from the power cable.
- Unplug all interface cables from the printer.
- Next, select your connection from USB, Wired, and Wireless network options.
1- USB Cable Users:
If you are using the USB cable, plug the Brother printer into a wall outlet and switch on the device.
Next, connect the Brother printer via a USB cable to the Mac.
2- Wired Users:
For a wired network, connect a network cable between the Brother printer and the hub.
Next, plug the Brother printer into a power socket and turn it on.
3- Wireless Network Users:
If you’re using a wireless network, connect the Brother printer to a power outlet and power it on.
Next, you will be required to set up your Brother printer network.
Next, here is how to connect your printer to a wireless network.
Steps to Connect Brother Printer to Mac:
- Then, on your Mac, click the Apple menu and choose System Preferences from the drop-down menu.
- Then go to Print & Fax, Print & Scan, or Printers & Scanners icon from there.
- Then you need to press the plus button for Printers and Scanners.
- Also, from there you have to choose the Default tab.
- Once done viewing the List of all printers, select Brother printer from the list.
- Check that Print Using or Use is selected on the correct device, then click the Add button.
- Then, Ensure that CUPS is selected under Available for Print With or Use, the model name of your device.
- You should click on the BR-Script If Available for your Printer Model] Use for the PostScript Driver.
- Once complete, your Brother printer will appear in your Mac’s Print & Fax, Print & Scan, or Printers & Scanners folders.
- Now when you add the printer on your Mac device, exit the System Preferences screen.
This can lead to problems like Brother printer not connecting to Mac or any other machine. For the printer not connecting issue, you can directly get in touch with Brothers Printer Support Staff and get the issue resolved by the experts.