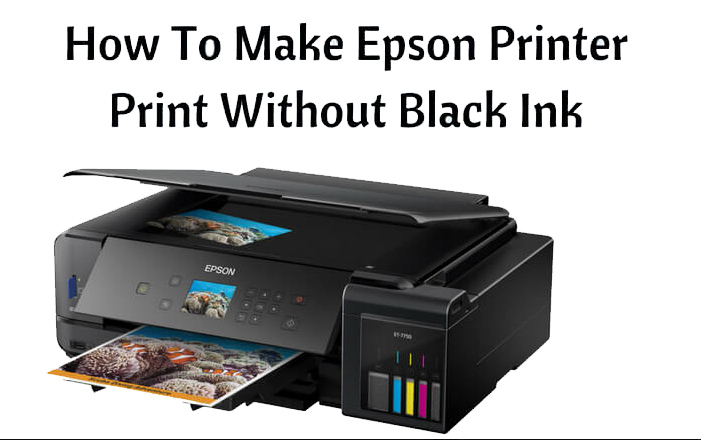
Why won’t Epson Printers Print without Black Ink? The printer has made everyone’s life a whole lot better. You still require a technically advanced printer to accomplish this, whether it is for your personal use in your office or your child’s school project. Epson, like other brands, has taken the electronic gadget market and perfected it to perfection by providing beautifully designed, technically and technologically developed printing gadgets. Your Epson printer is about to run out of black ink while you are printing an essential document, weird situation, right? No worries, How Do You Print Without Black Ink an Epson Printer? So we’ve got you covered.
Regular printer users know very well that you have to use original ink cartridges for printing and old cartridges should be replaced as soon as they run out. However, refilling black ink cartridges or purchasing a new one in the store can prove to be a tedious job. Hence it would be better to print with no black ink. In this blog, we will be talking about how to print without black ink on an Epson printer?
Read: How to Fix Epson Printer not Printing After Changing Ink Cartridge?
How to Print Without Black Ink on Epson – In Windows
This part we explored will show you how to print without Black Ink on Windows OS in simple ways and steps. This one is for all Windows users How to print on an Epson printer without black ink? Simply follow these steps:
- Step 1: Abort all print jobs or close the print queue.
- Step 2: Select Printers & Hardware > Epson Printers when completed.
- Step 3: Now, click on Quality > You will see a Composition tab in between, click on Plain Paper.
- Step 4: Once done, look for the Grayscale option.
- Step 5: OK > Monochrome Settings > Execute Print
To print any important file or document without black ink on Windows.
How to Print Without Black Ink – On Mac
We have dedicated this section to Mac users who are printing a file in the same color other than black. In this post section, we will talk about how to print on an Epson printer without black ink. All you need to do is follow the steps below and ensure that you do not skip anything in the middle to achieve the results you are looking for. To do this, follow the steps below:
- Step 1: Cancel all print jobs
- Step 2: Open Epson Printer Utility.
- Step 3: Open the dialog box.
- Step 4: Now, under Driver Settings, Allow Temporary Black Printing.
- Step 5: A Epostu Control System Select Printer Settings > Select Configure media composition of Plain Papers.
- Step 6. Touch on Grayscale > click OK > Print.
Steps to Print Without Black Ink on Printer
To help you understand the seriousness of the issue and to assist you, we have covered How to print without black ink on a printer. But other steps are included. Here are some simple steps you could take by yourself with no outside help:
- Step 1: You go to Start > Control Panel > Printers and Peripherals
- Step 2: Right-click on the Epson printer > select Properties.
- Step 3: Next, choose a Black color in the Ink set option.
- Step 4: Click the Color Settings option and click Apply.
Steps to Print on an Epson Printer without Black InkSo, here are the steps by which you can print any document, file, or anything without the use of black ink on an Epson printer. These are response and action steps to doing it after lots of research and testing. In this case, these steps can definitely help you to cure the problem at home.